(adapted from Mesa College DSPS)
Types of videos you may encounter when using video as part of your course instruction:
- Videos with captioning
- Videos without captioning
- Videos on the web with no or accurate captioning
- Videos you own (e.g. Your recorded Zoom Video)
Recommendations and instructions to make each of the above types of video accessible for students:
Videos with captioning
As long as the captioning is available and accurate, you are able to show the video
to your class. Punctuation, spelling, and grammar are essential to accurate captions.
Videos without captioning
DO NOT SHOW to class until the video is captioned. Refer to the information below to provide accessible captions.
Videos you own (e.g. Your recorded Zoom Video)
You can use Youtube auto caption. It is a FREE tool and is an automatic process. When uploading a video to YouTube, it will automatically add captions to your multimedia. Access and edit these captions by accessing the creator’s studio, selecting the Captions and CC button, and selecting the AUTOMATIC caption file. This tool is best used for shorter videos.
For sharing your recorded Zoom videos, refer to Steps to Record and Share your Captioned Zoom Video to use the built-in Zoom transcribor and make sure you have accurate captions.
Videos on the web with no or inaccurate captions
Accuracy measures punctuation, spelling, and grammar, as they are essential to learning and comprehension. If a video on the web, such as on Youtube, which often uses auto-generated closed-captioning, does not have accurate captions, you will need to find a way to provide it. One way is to use Downsub.com and Amara ( Steps to Download Subtitle Files Using Downsub, Steps to Using Amara to Add/Edit Captions).
Downsub.com allows you to download existing subtitle files such as: SRT, TXT, VTT. With the subtitle files, you won't have to type the captions from scratch. You can simply make the edits later on to ensure that the captions are accurate.
With the subtitle files, you can then use Amara Subtitle Editor to edit and include the captions to the web video you are planning to use for your class. If the subtitle file is unavailable, you will have to manually type the captions in the Amara Subtitle Editor.
Once your Amara video is ready, you can provide the Amara video link to your students. The orginal video will be played on the Amara platform with the subtitle you have created. You can also embed the Amara-captioned video into the Learning Management Systems such a Canvas.
Steps to Record and Share your Captioned Zoom Video
1. Start a meeting as the host.
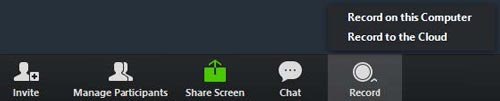
2. Click the Record button in the Zoom toolbar.
3. Select Record to the Cloud to begin recording.
4. To stop recording, click Pause/Stop Recording or End Meeting.

5. Once the recording has been stopped, the recording must be processed before viewing. Zoom will send an email to the host's email address when the process is completed.
6. By clicking on the link in the email from Zoom, you'll be brought to your Zoom Recordings page, where you'll be able to access your recordings.
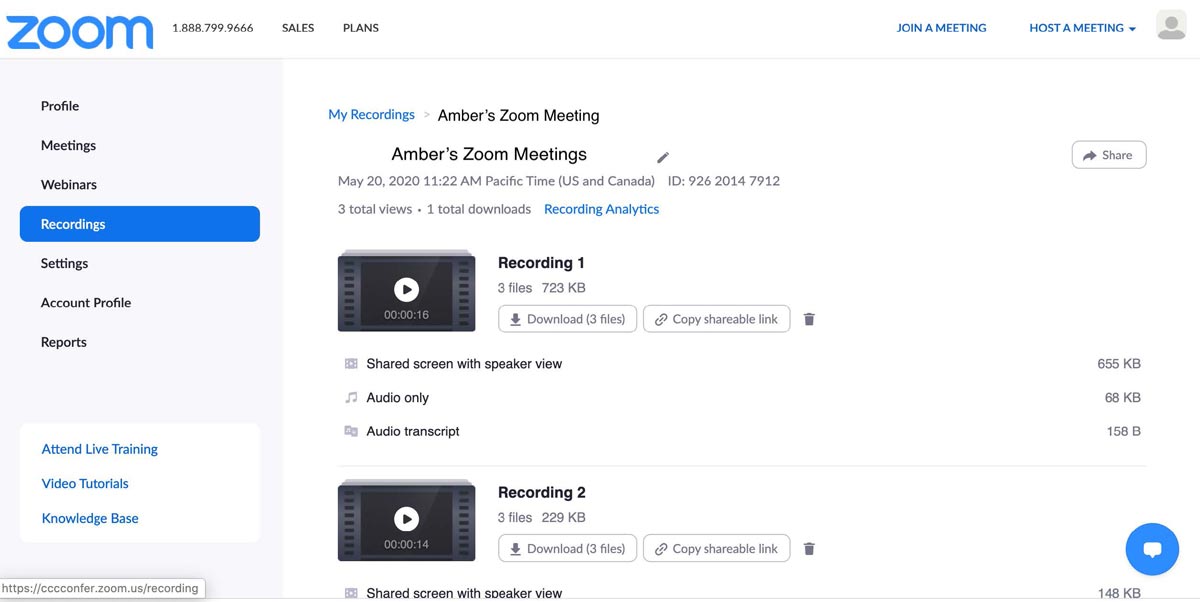
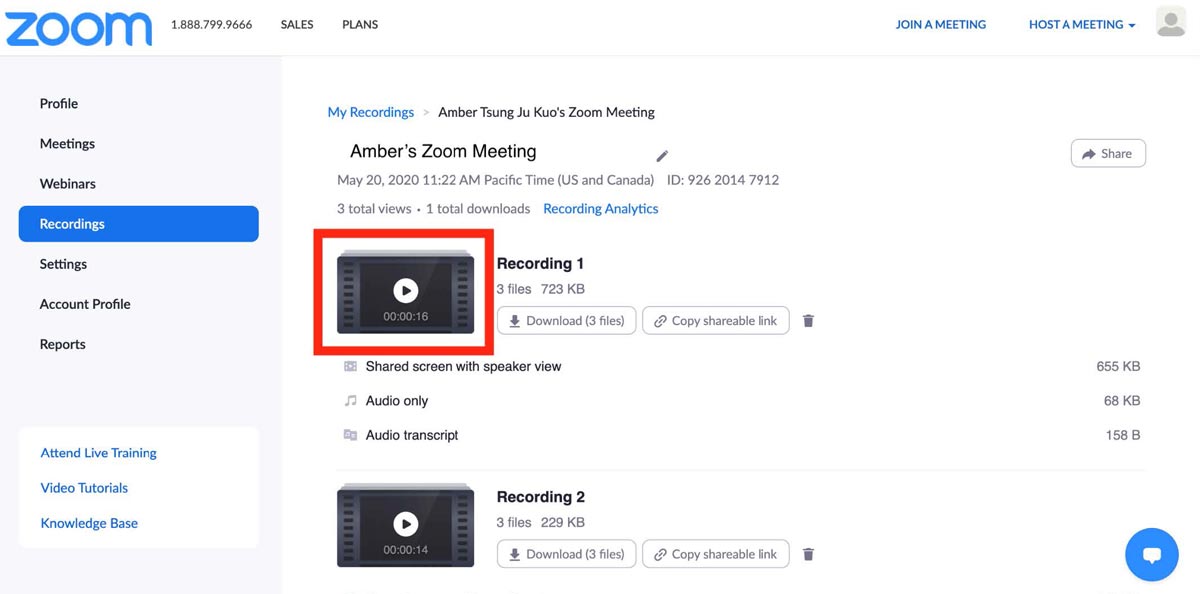
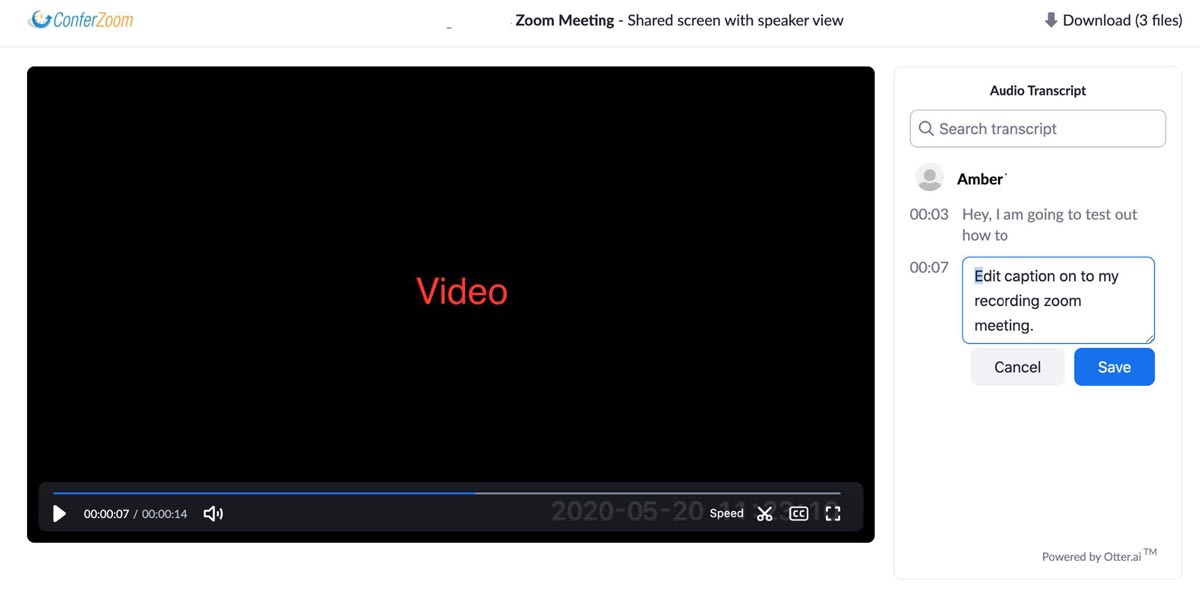
7. Once you are in your Zoom Recordings page, click on the recording you would like to edit the captions for.
8. The video as well as the transcript will be shown on the page. You can then review and make edits to the transcript by clicking on Pen icon next to each section of the transcript.
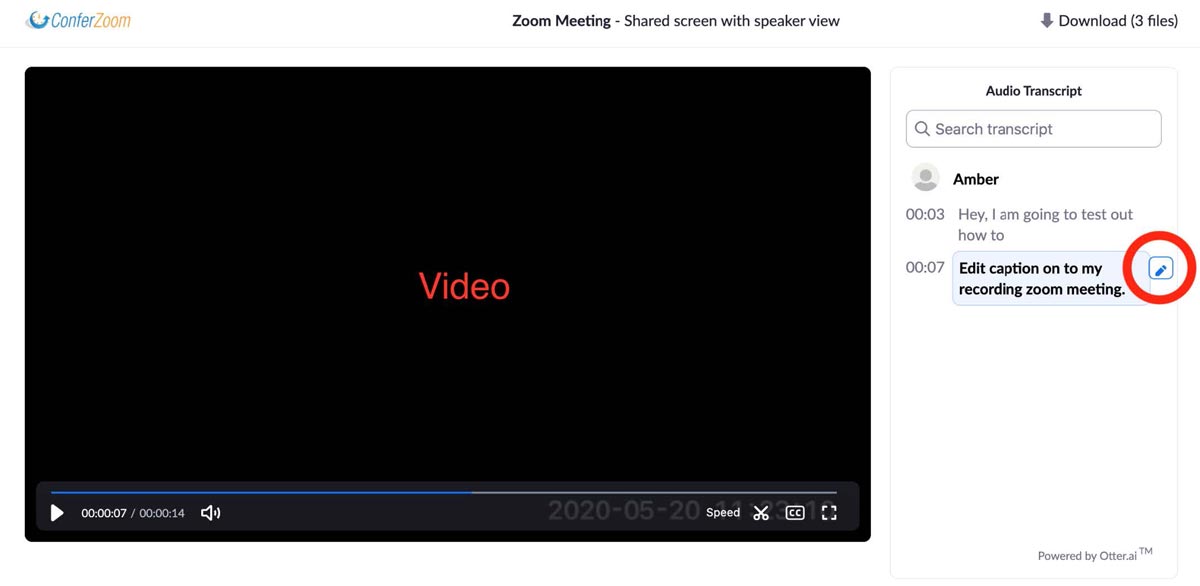
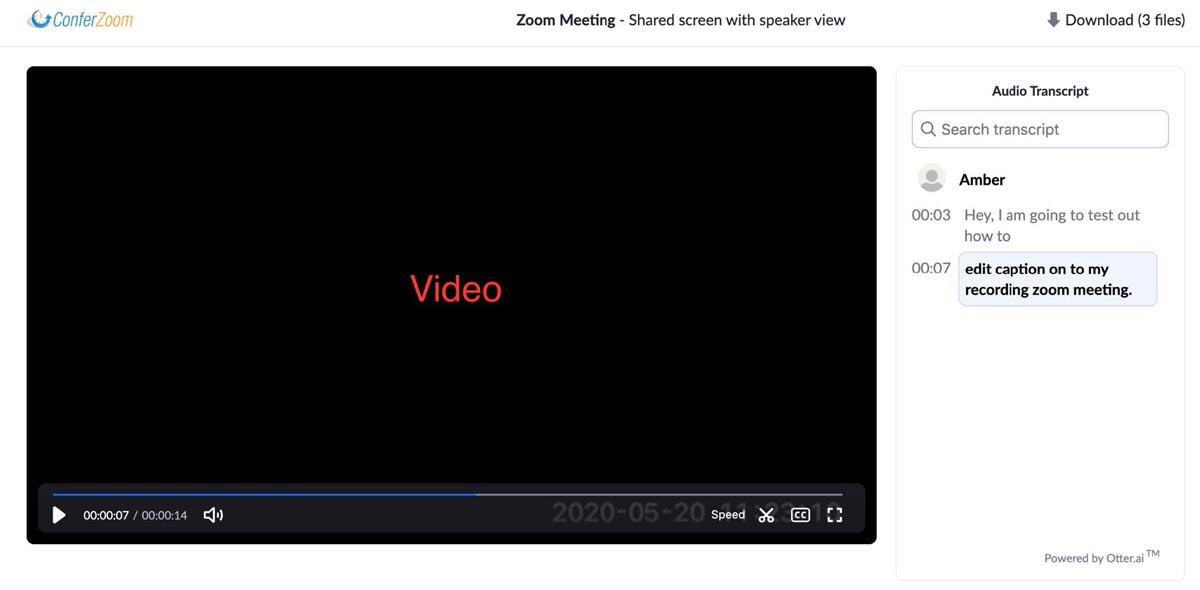
9. Once you finish making the edits, click Save.
10. Your recording now has accurate transcript and captioning and is ready to be shared.
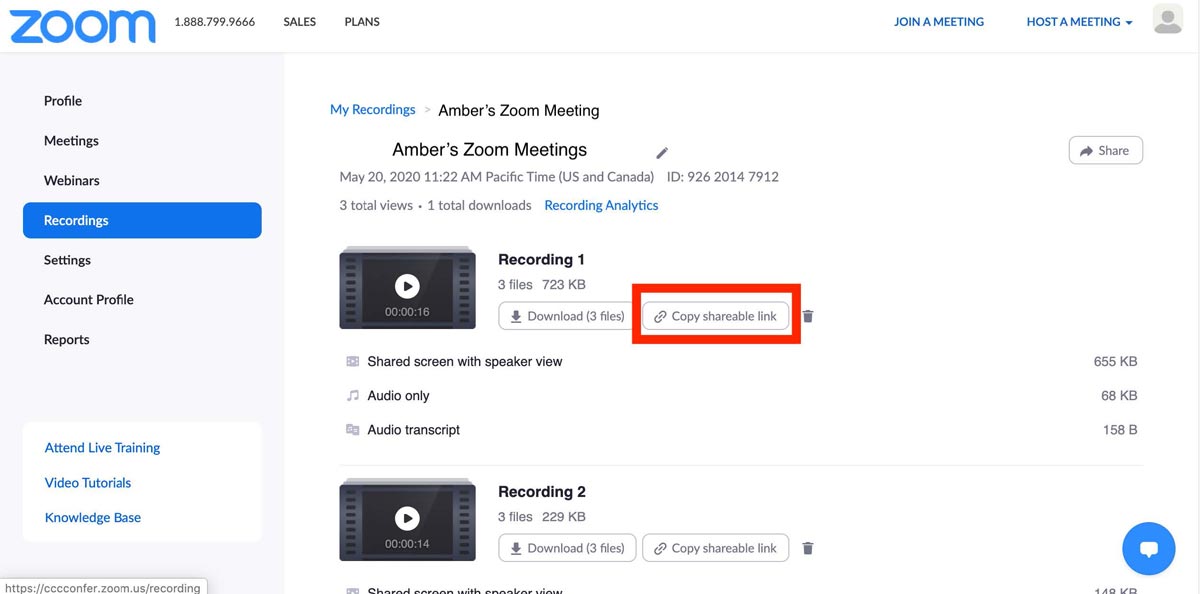
11. To share the recording, go back to your Recordings page and click Copy Shareable link. You can now share your captioned recording with your students.
2. Click the Record button in the Zoom toolbar.
3. Select Record to the Cloud to begin recording.
4. To stop recording, click Pause/Stop Recording or End Meeting.
5. Once the recording has been stopped, the recording must be processed before viewing. Zoom will send an email to the host's email address when the process is completed.
6. By clicking on the link in the email from Zoom, you'll be brought to your Zoom Recordings page, where you'll be able to access your recordings.
7. Once you are in your Zoom Recordings page, click on the recording you would like to edit the captions for.
8. The video as well as the transcript will be shown on the page. You can then review and make edits to the transcript by clicking on Pen icon next to each section of the transcript.
9. Once you finish making the edits, click Save.
10. Your recording now has accurate transcript and captioning and is ready to be shared.
11. To share the recording, go back to your Recordings page and click Copy Shareable link. You can now share your captioned recording with your students.
Steps to Download Subtitle Files Using Downsub
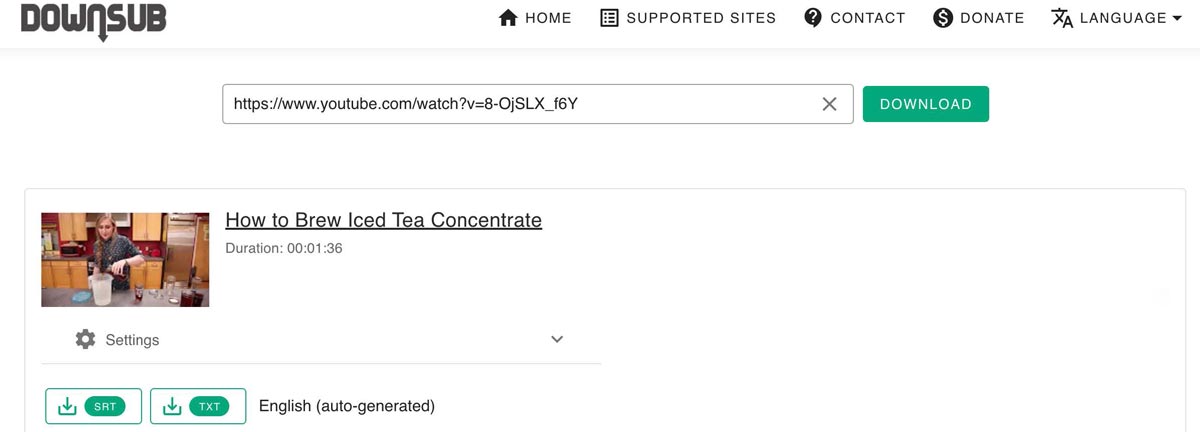
1. Go to Downsub.com. Enter the video URL of the video you'd like to download the substitle file for.
And click Download.
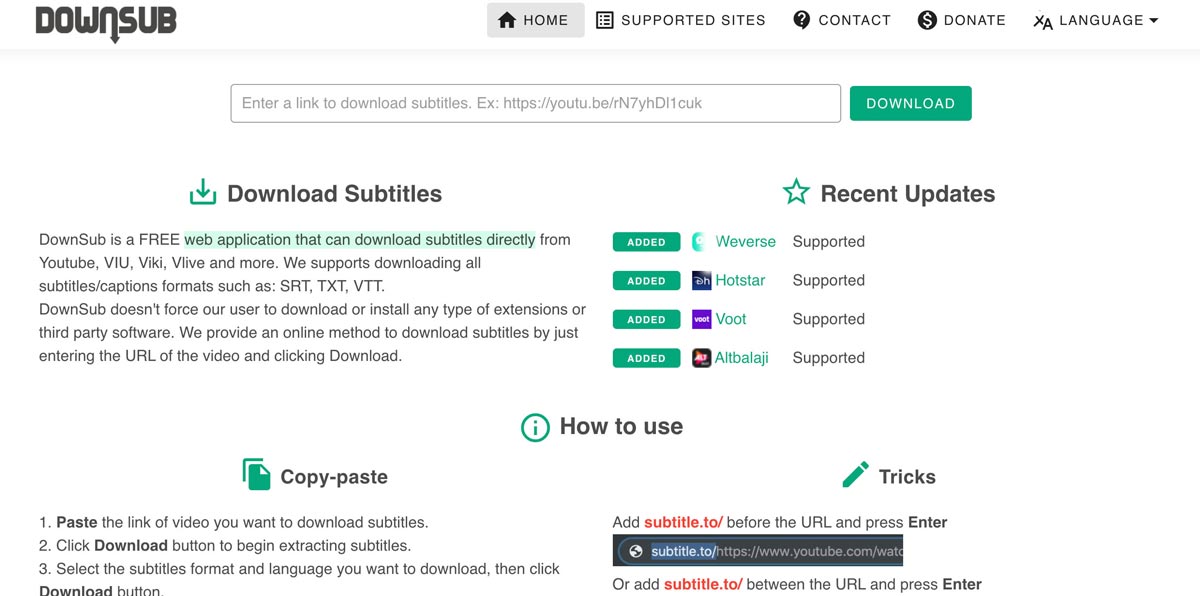
2. The available Subtitle formats will then be shown under the video. Click on the preferred file type to download.
2. The available Subtitle formats will then be shown under the video. Click on the preferred file type to download.
Steps to Using Amara to Add/Edit Captions
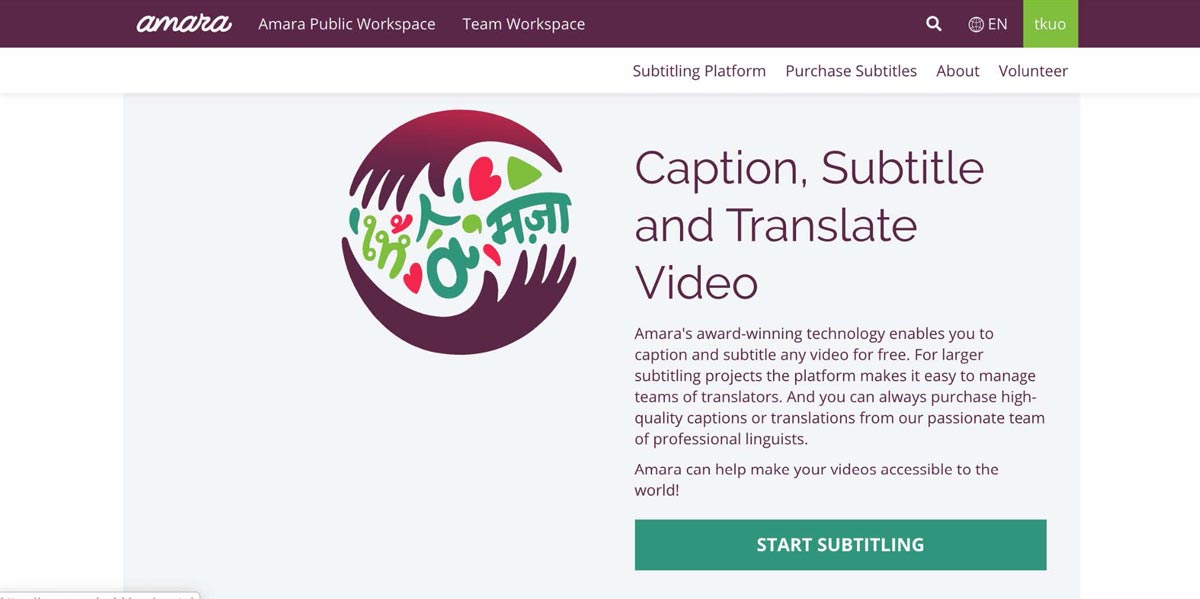
1. Go to Amara.org and sign up for a free account. Look for and click the Start Subtitling link.
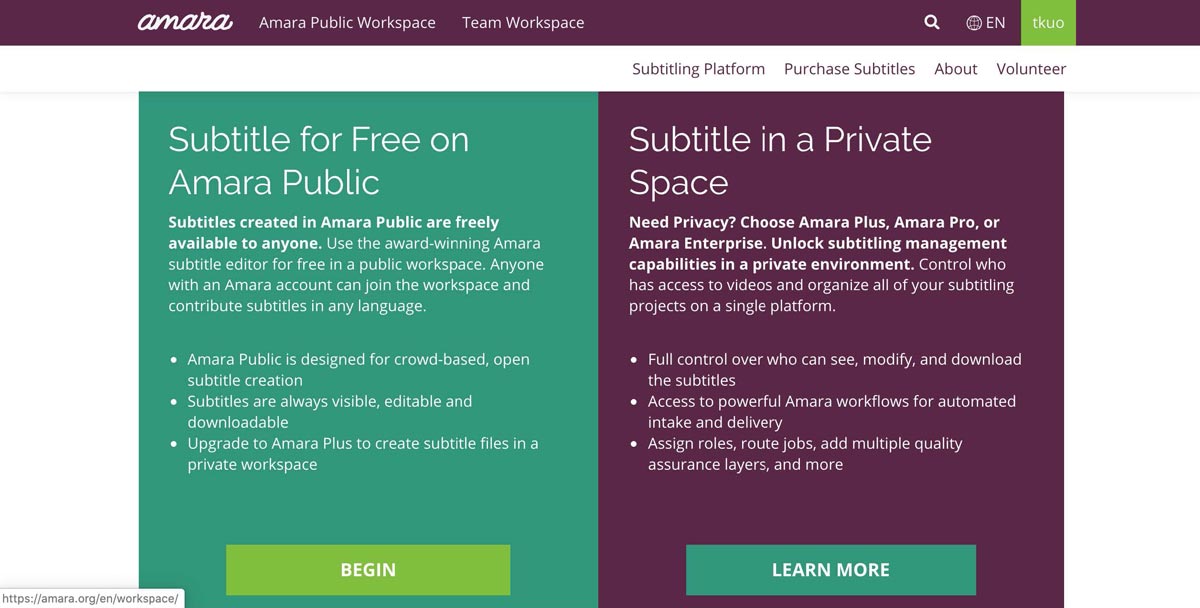
2. Click Begin to Subtitle for free on Amara Public.
3. Click Add Videos.
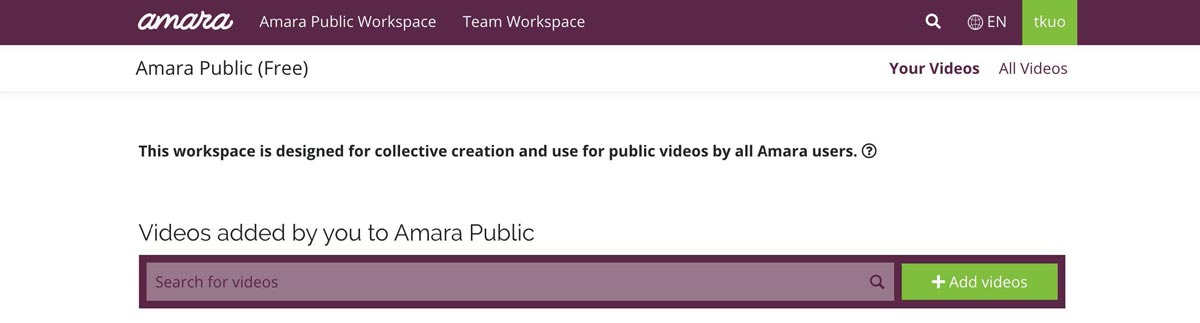
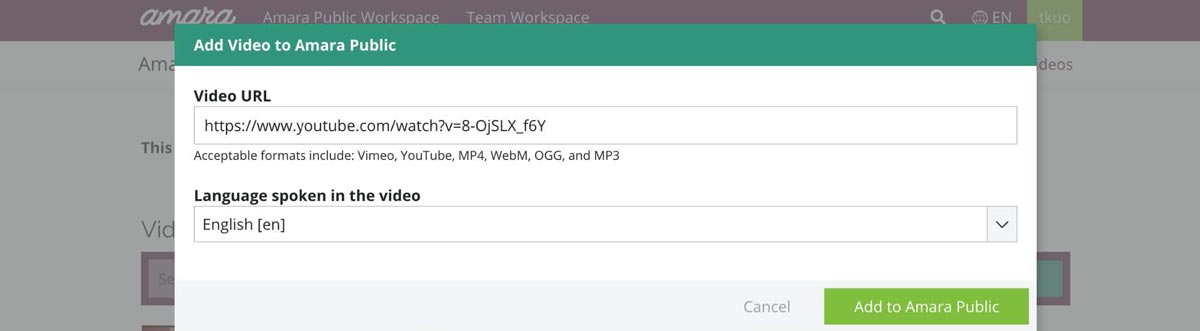
4. Insert video URL and choose the language spoken in the video.
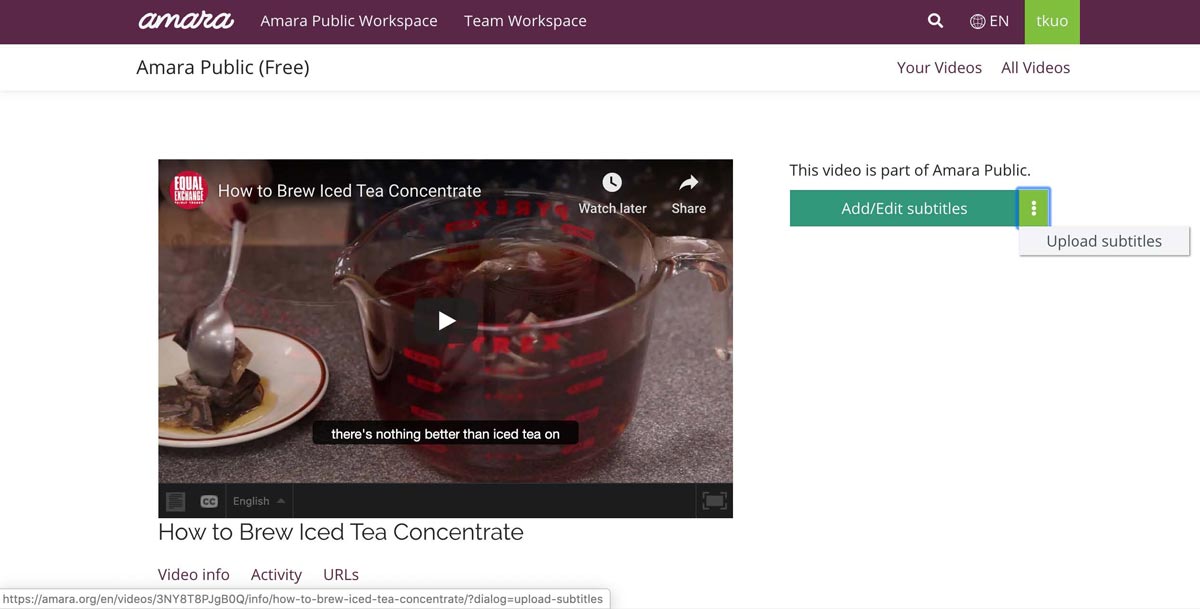
5. The video is now shown on the left-hand side of the page. Click on the three dots icon and then Upload Subtitle. (If you don't have the subtitle file, you will click on Add/Edit Subtitles instead.)
6. Once the subtitle file is uploaded, click Edit Subtitles.
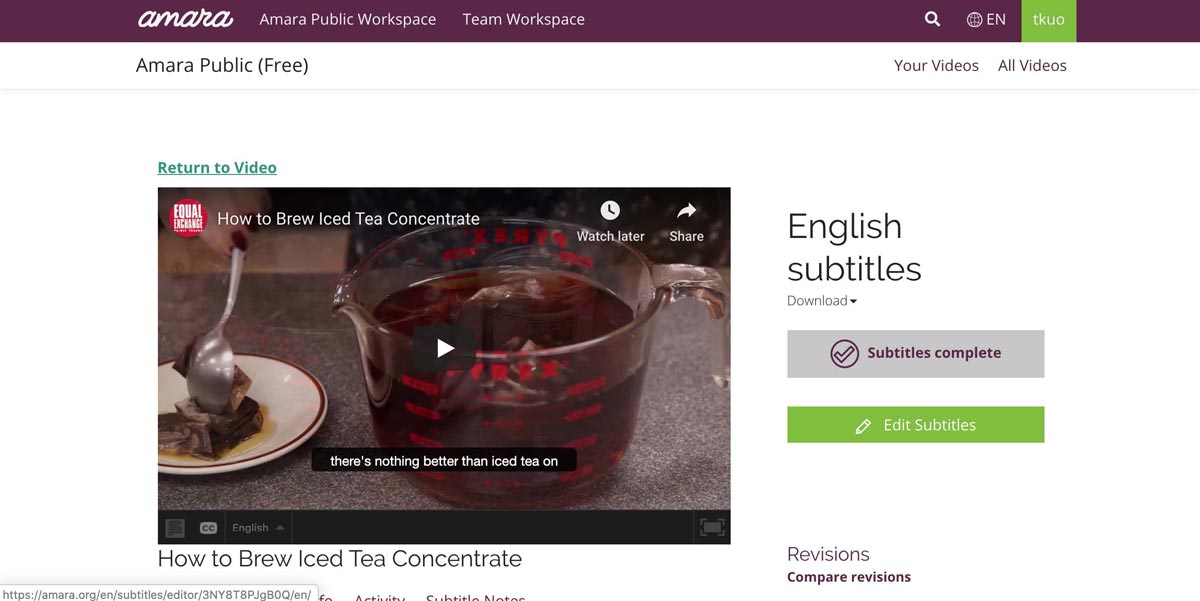
7. You will then be brought to the Subtitle Editor page where you can view the video, the original captions from the subtitle file, and make necessary edits in the middle column. Once you complete the edit, you can click Publish.

2. Click Begin to Subtitle for free on Amara Public.
3. Click Add Videos.
4. Insert video URL and choose the language spoken in the video.
5. The video is now shown on the left-hand side of the page. Click on the three dots icon and then Upload Subtitle. (If you don't have the subtitle file, you will click on Add/Edit Subtitles instead.)
6. Once the subtitle file is uploaded, click Edit Subtitles.
7. You will then be brought to the Subtitle Editor page where you can view the video, the original captions from the subtitle file, and make necessary edits in the middle column. Once you complete the edit, you can click Publish.
